
I'm proud to report that I've finally finished two projects that have been in hibernation for a while, over the last two days: the Knot Sleeve Blouse by Olga Buraya-Kefelian (for Blue Sky Alpacas) and the Short Stays by Larissa Brown (for Jane Austen Knits, 2011). According to my Ravelry project pages, I started the former in December 2011 and the latter at the end of March 2012. Yep, I know; I'm pretty slack, huh? But at least I got there in the end!
The main reason I stashed these projects for so long is because I've been trying to lay my hands on some professional blocking tiles, in order to do a proper job of it. Not sure if I've mentioned this before, but in the past I've been using the ironing board to block small items like scarflets, and a thick towel over my quilting board for bigger pieces. Ever since reading some pretty good reviews on the 'Knitter's Block' blocking tiles by cocoknits (www.cocoknits.com), I had my heart set on getting a set for myself, convinced that it would change my blocking results forever.
I ended up buying the large set of 18 tiles, because the small set of 9 doesn't seem like it would form a sufficiently large blocking area for large items like shawls. At $85 plus about $50 for postage and handling (more if you want to send it via express or registered mail), I had high expectations for this rather costly investment.
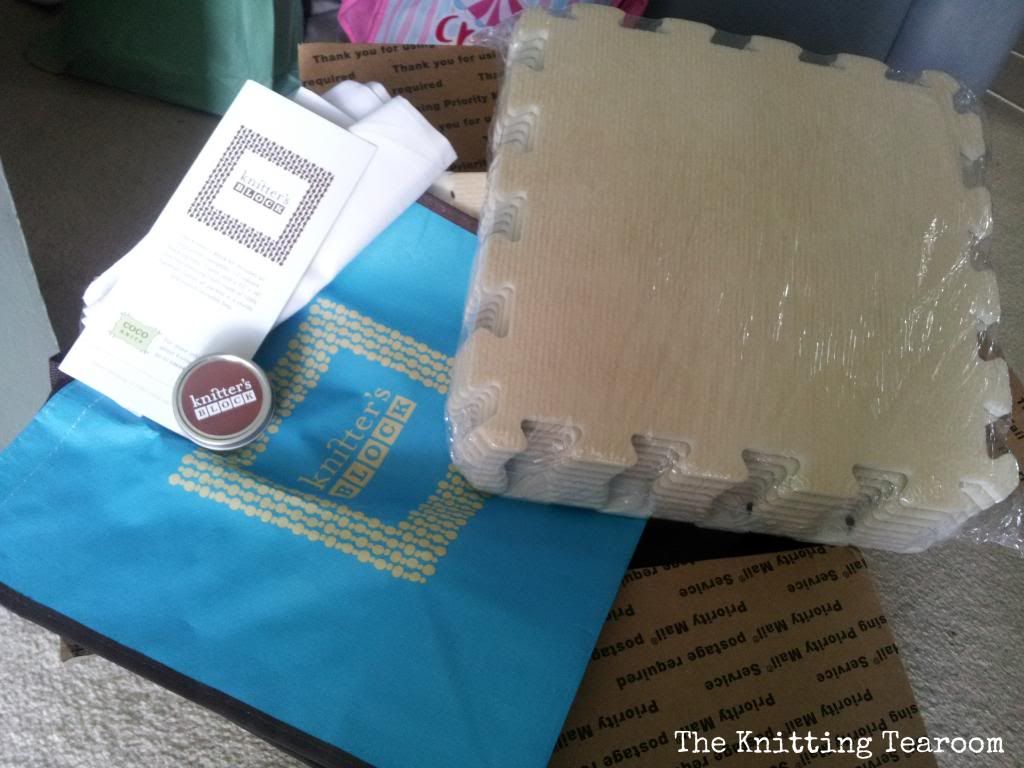 |
| Knitter's Blocks |
I will keep this to-the-point: I regret buying this product; I should have just bought the children's play mats of this likeness. The carpet-like fabric covering of the tiles is supposed to gently grip the knitted fabric, which I think it sort of does. However, when I blocked both of my garments, I found that even after a full 24 hours, they remained very much damp. This is rather unusual, because when I've blocked other items via my previous methods, if I block them in the morning, usually by evening they'd be dry; most definitely after airing overnight.
After over 24 hours, I needed the blocking tiles for my blouse, so I had to remove the still slightly damp short stays and hope that it would be okay. I'm not sure if it's because of this, or if it's due to the fact that the shoulder straps in the design are not wide enough, but the edges still retained the tendency to curl under slightly. Probably a combination of both. Anyway, upon removal of the garment from the tiles, I realised that the surface of the tiles were still quite wet, which is why the side of the knitted fabric touching it was also damp. The non-absorptive surface of the tiles is supposed to speed up the drying process, but it seems to do the reverse in my case. It appears that the moisture gets trapped between the fabric and the top of the tile covering and can't evaporate. Thus, after 24 hours of blocking my second garment, the Knot Sleeve Blouse, I whipped out the hairdryer and used that to dry out the fabric while it was still pinned to the tiles. Worked a treat.
The inclusion of the cotton sheet to help with the blocking was nice, but it felt a tad oily and it also took forever to dry out, despite squeezing out as much water from it as I could before laying it over my garment. I wish the tiles were thicker too, so that the T-pins could be secured in them more firmly without stabbing into my mattress below. In the future, I think I should probably lay a towel between the garment and the tiles both to help absorb the water as well as to add more thickness to the blocking medium. Doing without a towel, I'd probably flip the tiles over to use the non-carpeted side. Hence, I should have just bought some kids play mat tiles, since these will do the same job, by the looks of things, and at a much cheaper cost, too. I don't know how this is working better for other purchasers, but for me, it's not as great as it's cracked out to be, and I feel rather jipped.
Complaints aside, here is my Knot Sleeve Blouse:
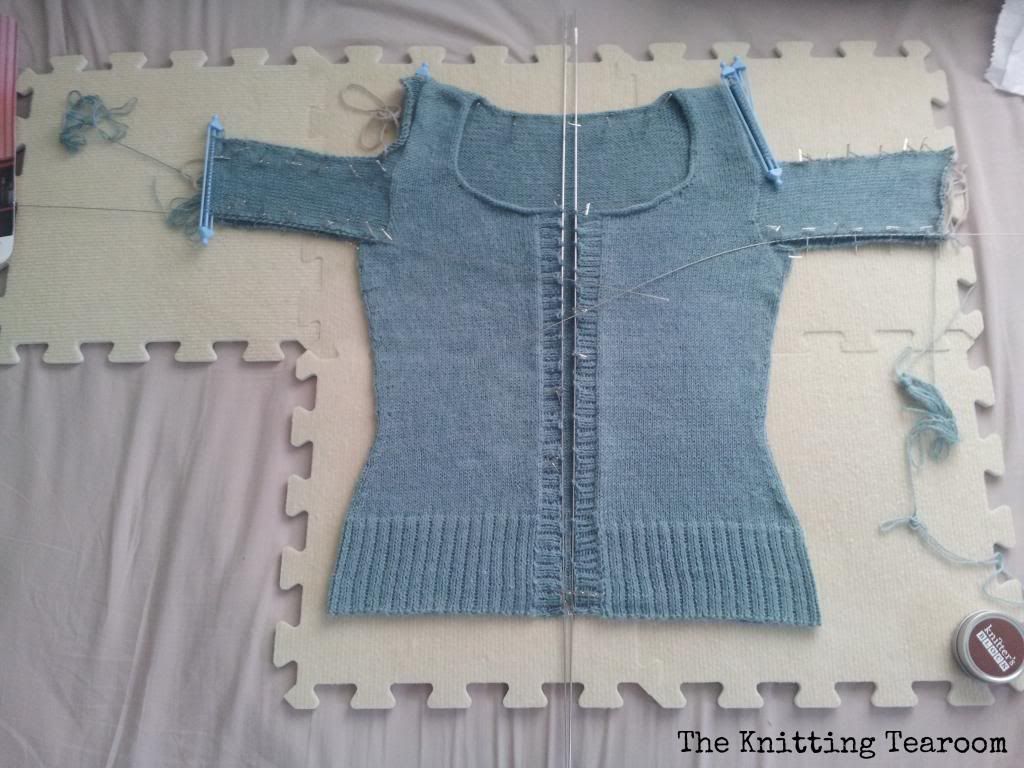 |
| Blocking on the Knitter's Block tiles |
 |
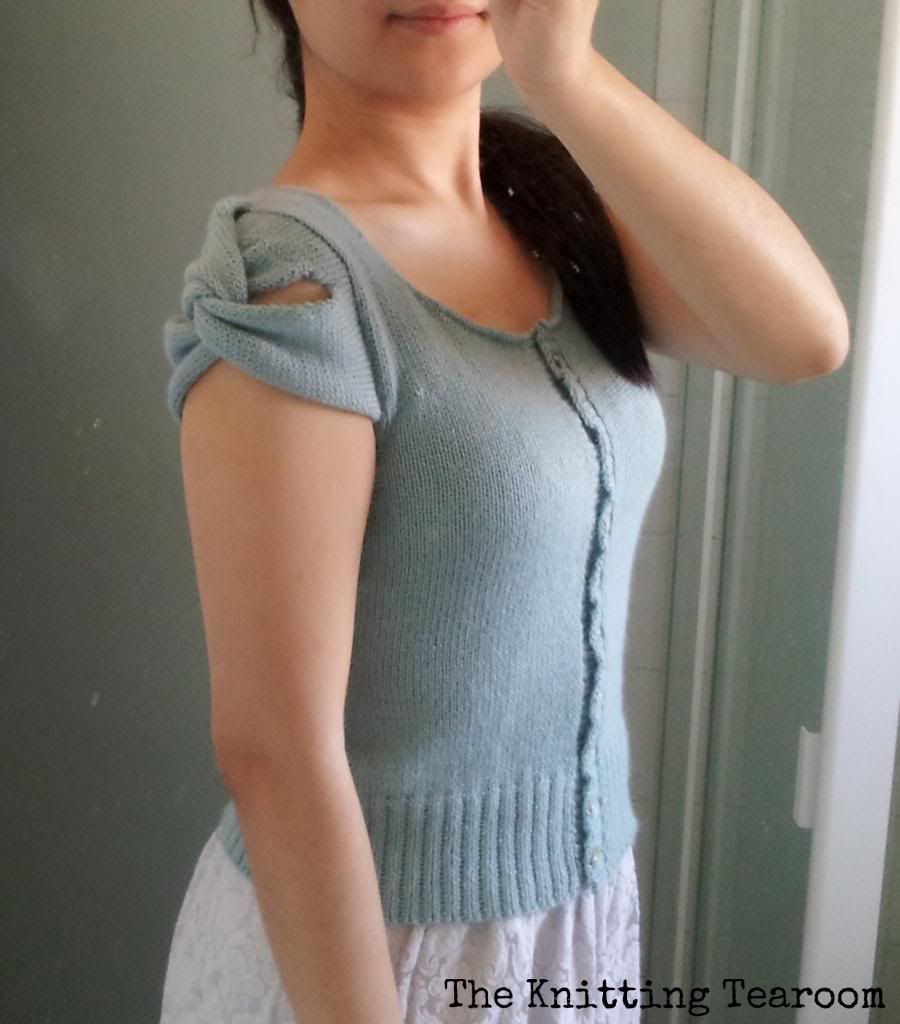
| The completed blouse, after blocking, grafting of the sleeves and attachment of the MOP buttons. |
It was my first time grafting two pieces of knitted fabric together, so it was a new technique for me. For the first strip, I got distracted and forgot which side I was up to and whether it was time to slip off the stitch or prepare it, so I ended up with two extra unworked stitches on one needle when the other was emptied of stitches. Oops. My tension for the graft was a bit too tight for the second strip, but I tried to even it out as much as I could. The last two strips worked out fine, but I still have to work on making the edge stitches at the start of the grafts neater somehow. I also didn't realise until after I'd finished all the grafting that I hadn't bothered to fashion the strips on both sleeves in the same orientation before grafting; so now the shape, in terms of bulkiness, looks somewhat asymmetrical. The moral of the story is to always use lifelines on both pieces of fabric being grafted together.
 |
| Front view |
The knot feature in the sleeves is quite pretty - indeed, it is what attracted me to this pattern in the first place - but as some people on Ravelry have pointed out, the bulk of the fabric forming this has a danger of making the wearer look like they have big arms. It definitely looks better on the model on the pattern pamphlet cover than it does on me, but I think I can get away with it. Just.
 |
| A better view of the knot sleeve detail |
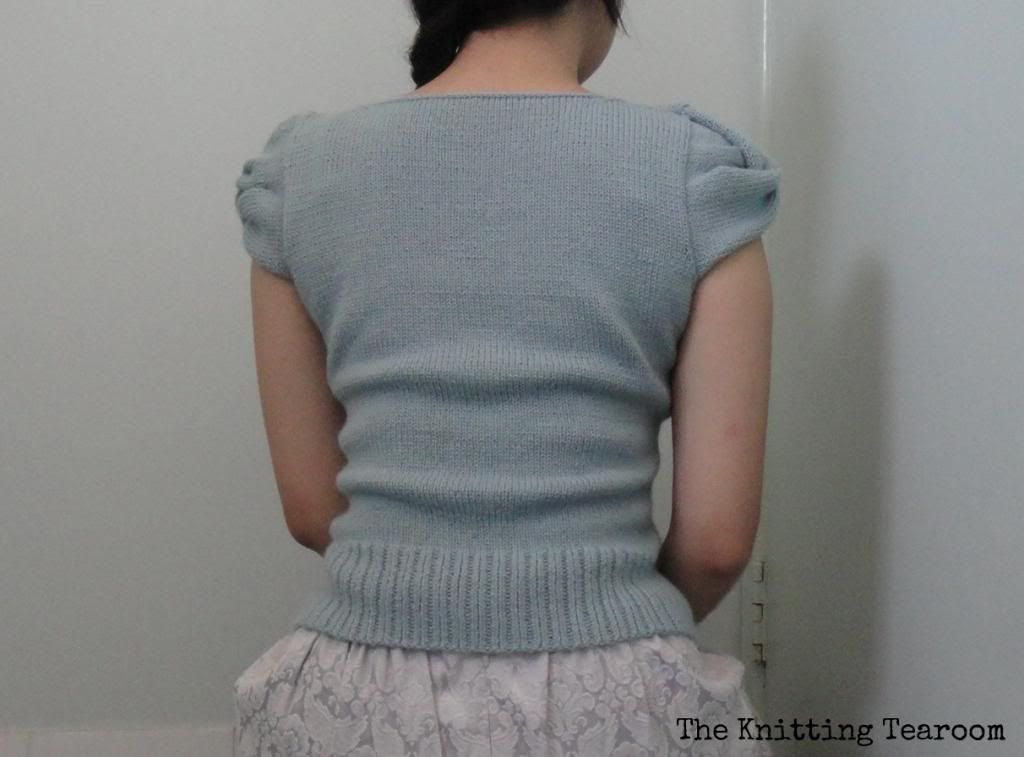 |
| Back view |
This is probably the best-fitting garment I've ever knitted, although if I was to knit it again, I would probably opt for the bigger size or do some maths and make some adjustments to the stitch count in some areas. The latter would probably be a better idea, since, as you can see from the above picture, the garment is already a bit on the looser side around the waist area. The armholes are a bit on the small side, sitting pretty high up. The yarn is nice and soft, and the fabric is stretchy, so it's not exactly uncomfortable, but with more movements during a day of wear, I'm not so sure this will still be the case. I will have to try it and find out for myself. From the picture of the front view, it is also obvious that the button band is pulled a bit out of shape towards the top, from the stretch across both front pieces. I like my button bands to sit flat and neatly on top of each other, which is why I'd probably add more stitches in the bust shaping section next time.
I'm sure I've sung my praises for the yarn I used at some point or other, but I'll do it again. I am talking about the recommended yarn for this pattern; the Blue Sky Royal yarn by Blue Sky Alpacas. This 100% royal alpaca yarn has a beautifully soft hand and knits up to a wonderfully soft and light fabric. I have been handling this project well over a year, and have not experienced any problems with pilling, scratchiness or itchiness. I am head over heels in love with it, and already look forward to the next time I can knit with it again.
Overall, I love what the pattern with this gorgeous yarn has created. The design is modern and feminine, and the fitted shape, together with the fine-gauge yarn and small, delicate mother-of-pearl buttons, make the garment one that has the benefit of being made from a luxury fibre by hand, without the rustic, homemade look, that most non-knitters stereotypically associate with hand-knit clothing.
Short Stays:
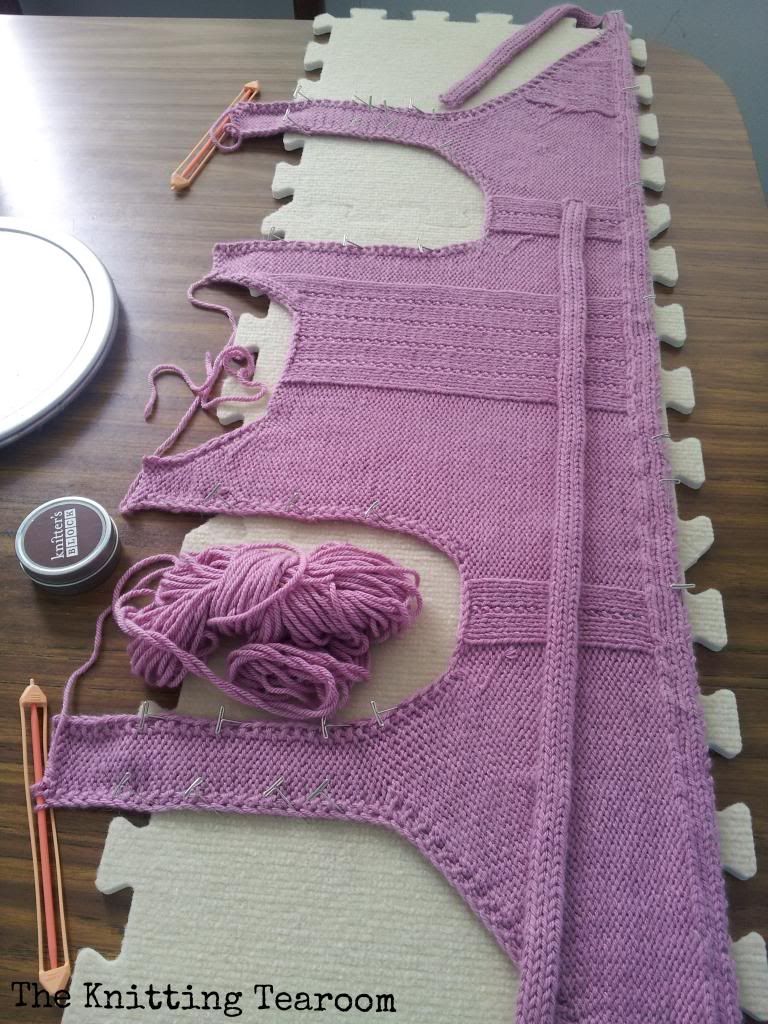 |
| Being blocked. There were 6 tiles to begin with, but after blocking for 12 hours, I removed 3 due to space restrictions on the table I had to shift the lot to. |
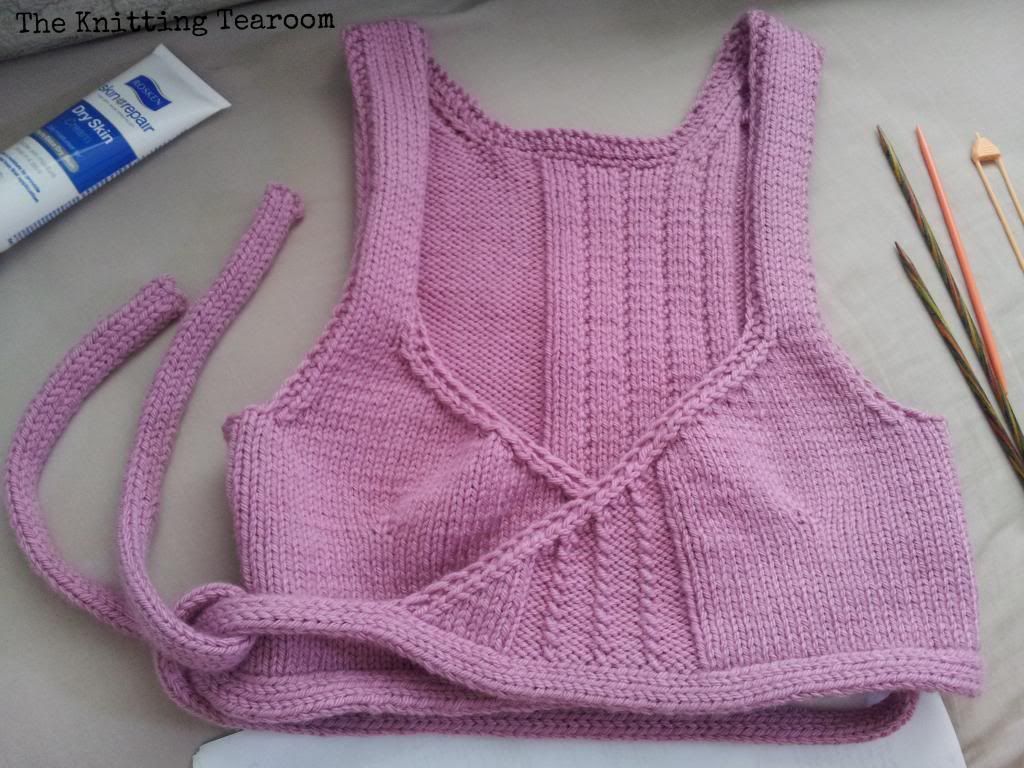 |
| The completed short stays after blocking and with the neck edging knitted on. |
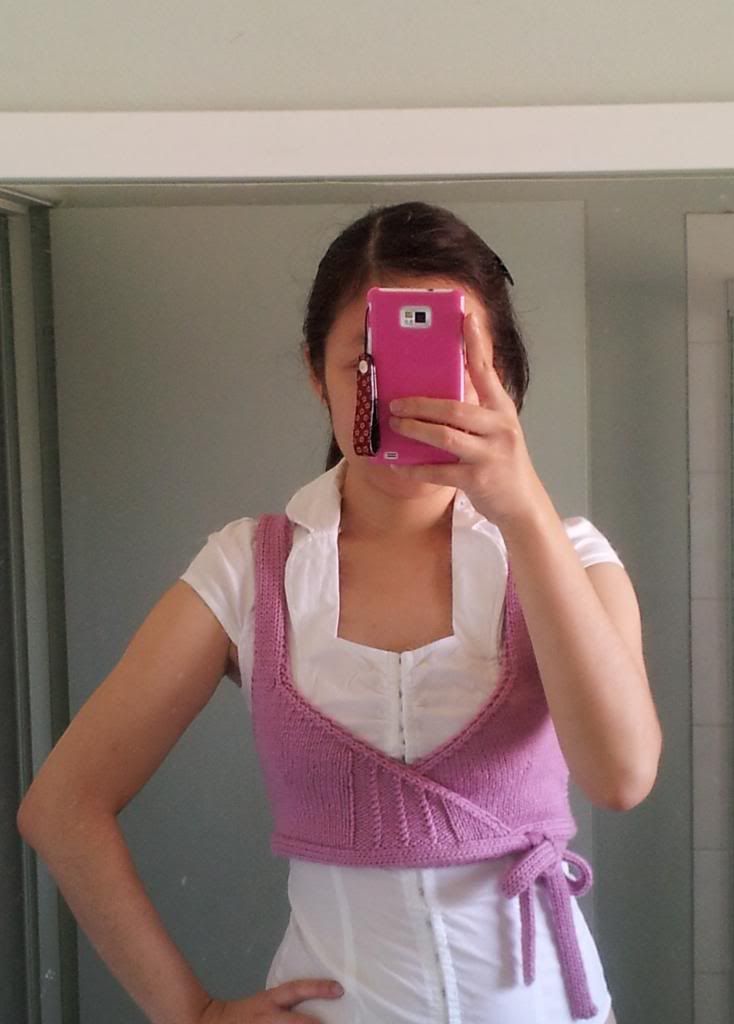 |
| Front view |
 |
| Back view |
I'm not overly crazy about the neck edging that is knitted on at the very end. It matches the front edging, but it is wider at the back, which makes it look a bit weird. I wonder why the back shoulder straps weren't designed to be just as wide as the front ones (sans edging), so that the edging thickness would be the same all around. Is it to prevent curling? It's nice and firm and thick, so it gives structure, but I'd much prefer a more refined look.
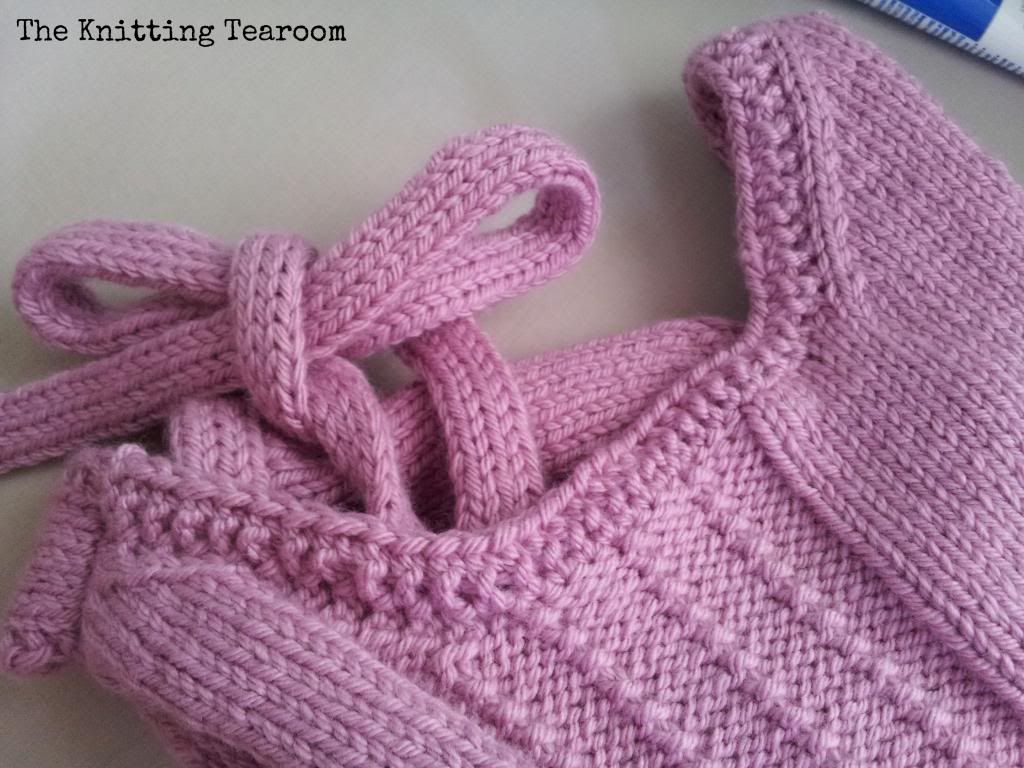 |
| Back neck |
I'm glad I have finally gotten two WIPs out of the way. Phew! Like last year, one of my New Year's knitting resolutions is to finish all WIPs before starting new ones or buying new yarn. I've got at least 2 that I'm still interested in finishing, one of which I aim to finish before the start of Winter. Hmm we'll see how that goes! I wonder what I should do with the yarn I've bought specifically for certain patterns that I haven't attempted yet, but aren't really interested in making anymore. Should I knit them anyway, or use the yarn towards different projects? This is exactly why I need to concentrate on one project at a time.
Meanwhile, it's that time of the year again to start working on my annual premmie beanie contributions to the hospital! I shall start these tomorrow :)


No comments:
Post a Comment