
 |
| My growing collection of lace knitting resources |
There are a fair few knitting websites, blogs and YouTube videos out there on the www that explain particular ways of doing the various types of yarn-overs, for which I was quite grateful. However, I remember almost ripping my hair out with frustration, because I couldn't for the life of me understand why some yarn-overs created holes significantly larger than others. You see, the tricky thing with yarn-overs is that, easy as the actual manoeuvres may be, the way you go about making them will determine the amount of yarn that is used between the stitches on either side them, and hence the size of the resulting holes. There's no way that is more 'right' than another, since blocking the finished work is going to even the holes out a bit; however, if you are a bit of a perfectionist like me, seeing vastly different sized holes form in one piece of knitting is positively going to drive you up the wall.
Ultimately, through a lot of Googling and trial-and-error, I came up with my preferred method of carrying out this technique, which I have found to yield the least inconsistencies in hole sizes between the different types of yos. I think it's only fair to reciprocate the favour of the tech-savvy, advice-dispensing knitters out there by sharing this and passing it on to those new to lace knitting. Shall we go through it now, step-by-step?
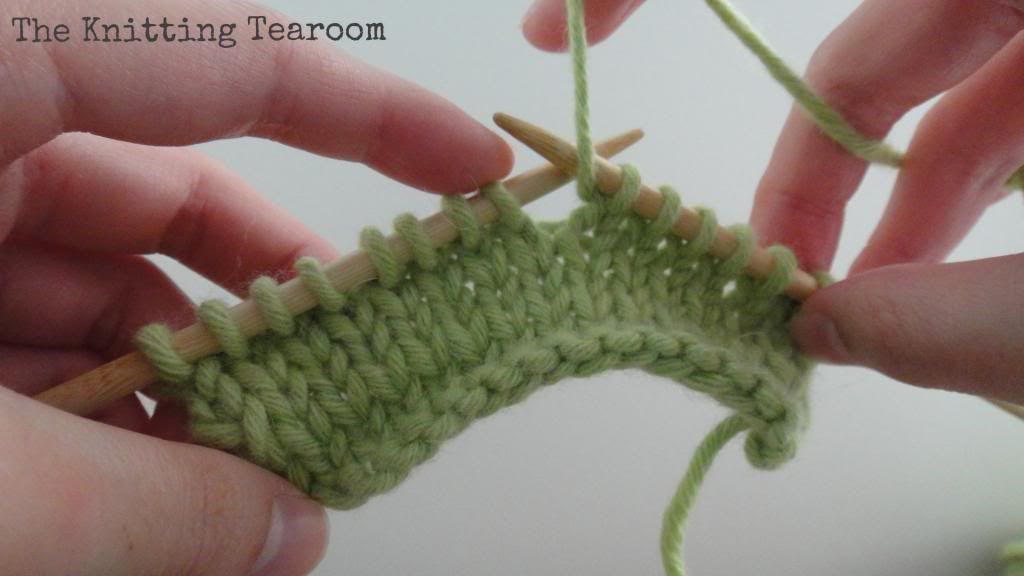
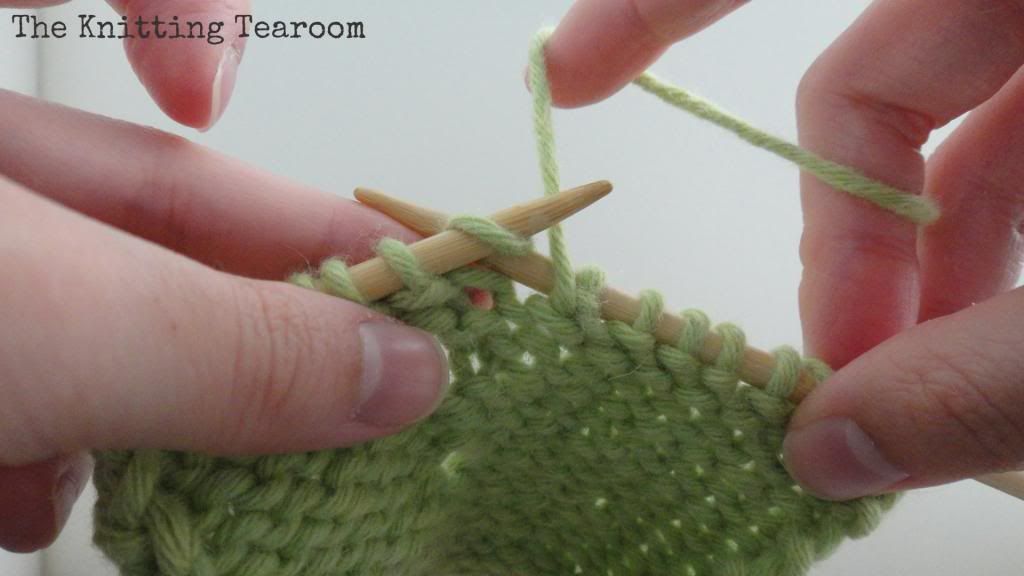
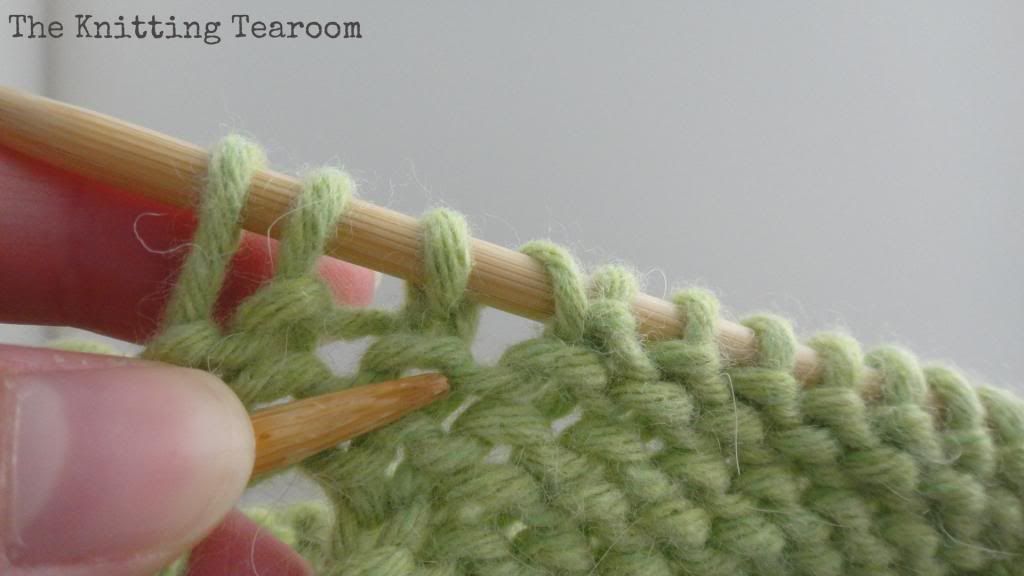
How to yarn-over between 2 knit stitches:
After the first K stitch, carry the yarn under the needle from the back of the work to the front. Leave it there and knit the next stitch.
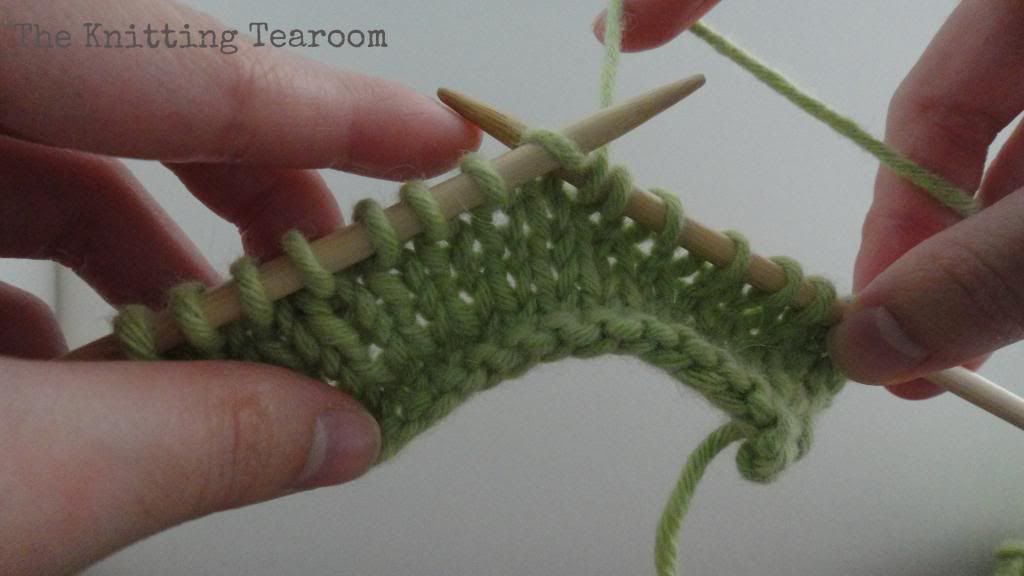
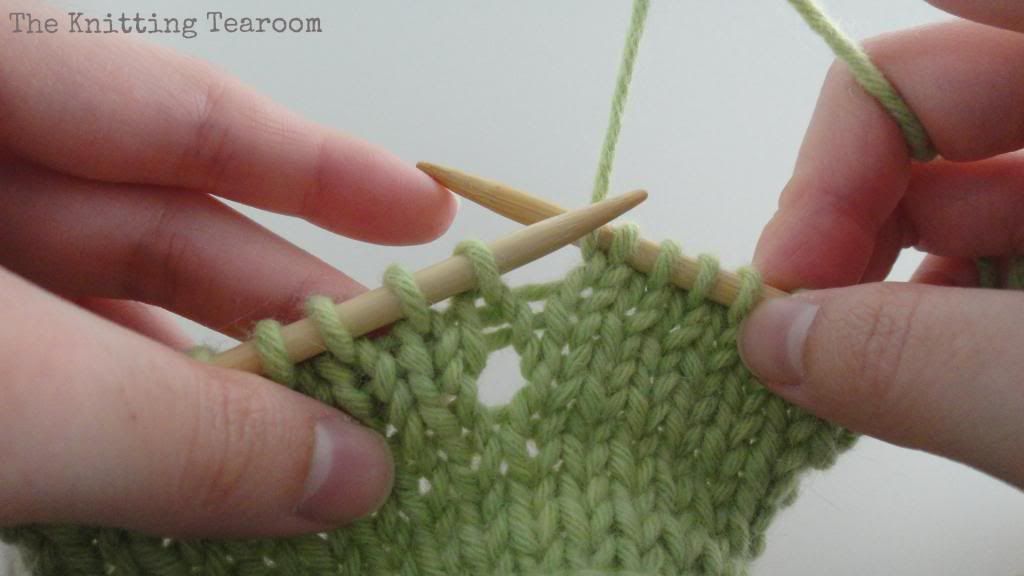
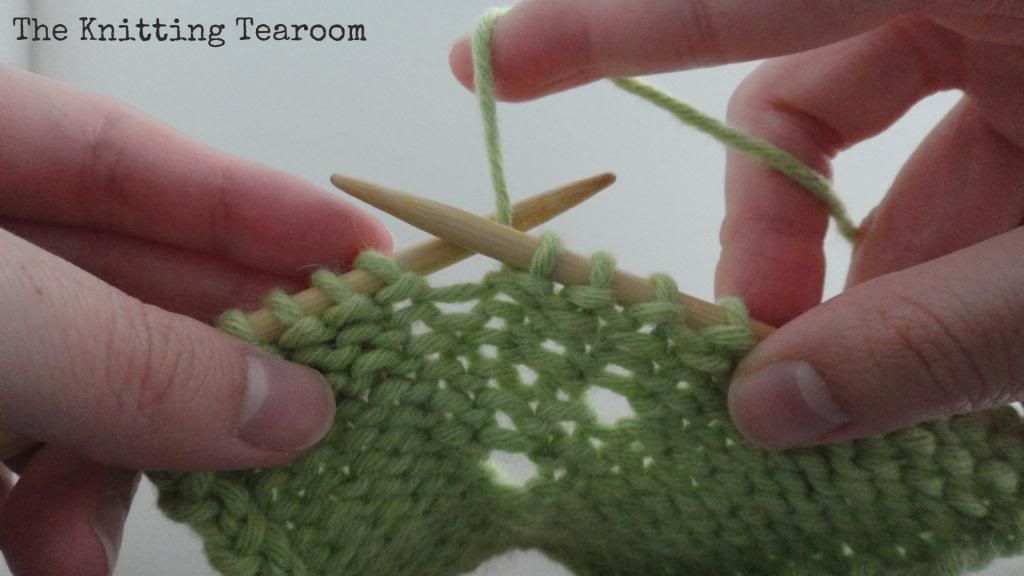
How to yarn-over between a knit and a purl stitch:
After knitting the first stitch, bring the yarn under the needle to the front, then wrap it around the needle once, finishing at the front of the work again, in preparation for purling. Purl the next stitch.
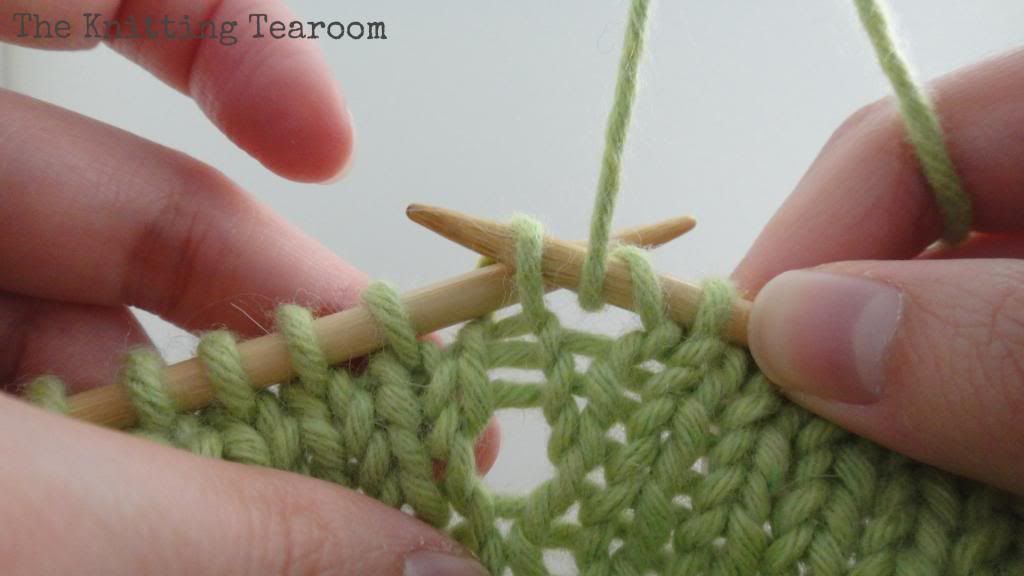
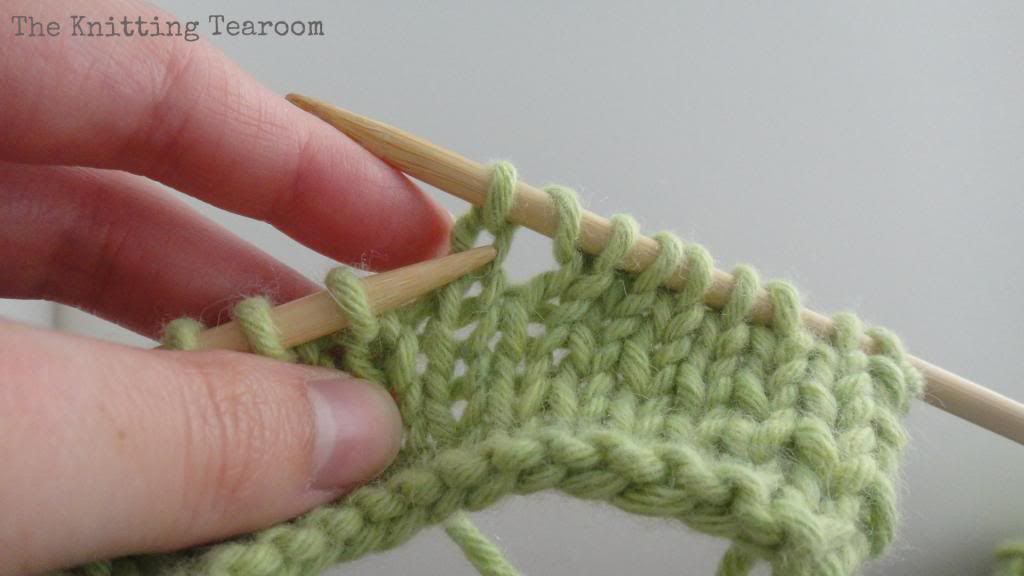
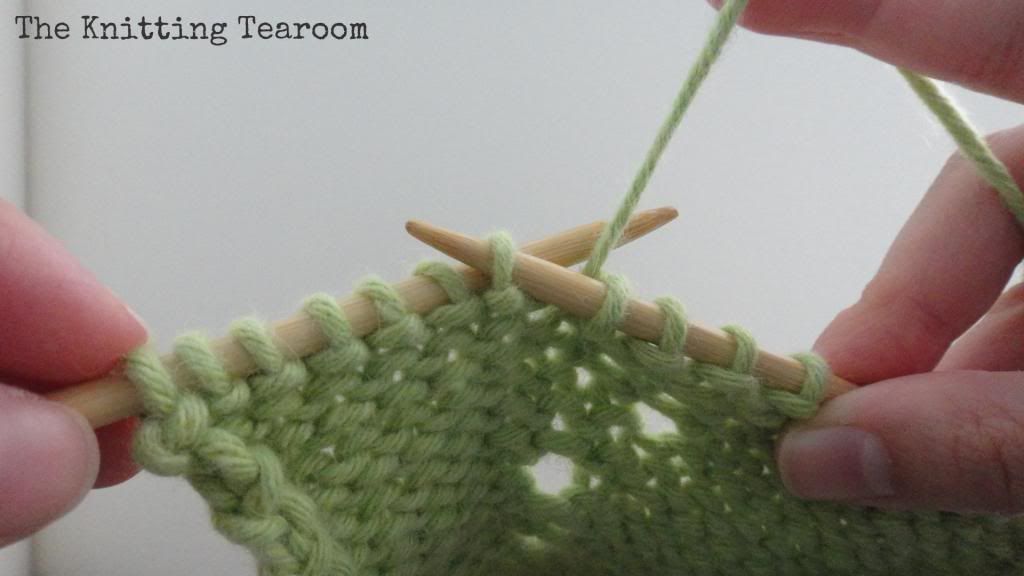
How to yarn-over between a purl and a knit stitch:
After purling the first stitch, leave the yarn at the front and knit the following stitch.
How to yarn-over between 2 purl stitches:
After purling the first stitch, take the yarn under the tip of the needle to the back of the work, then purl the next stitch.
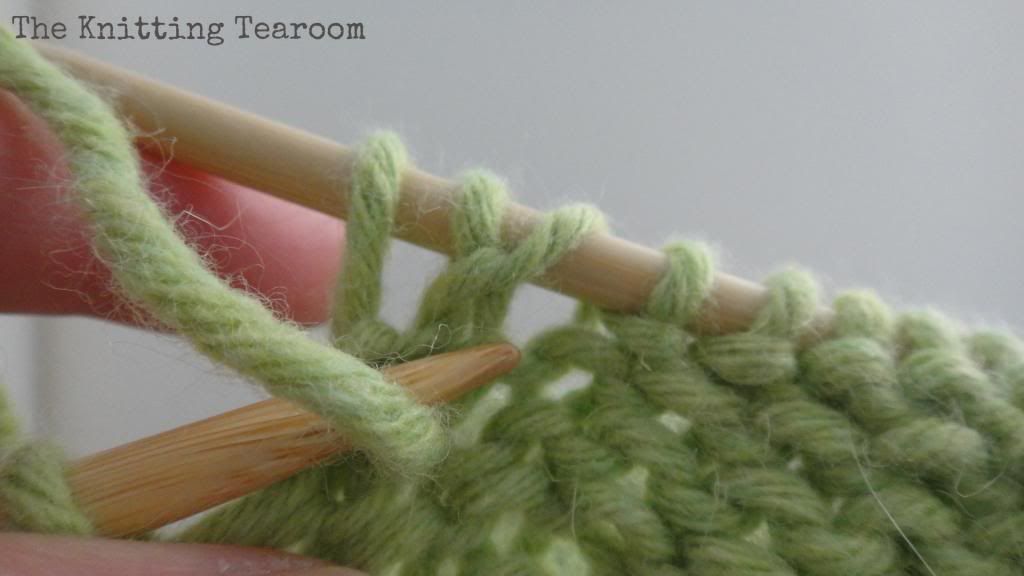
Out of all the yarn-overs, this one actually feels a bit weird and even looks like it might be wrong when you do it, especially when you knit across the stitches on the following row. Just breathe, and rest assured that all is well.
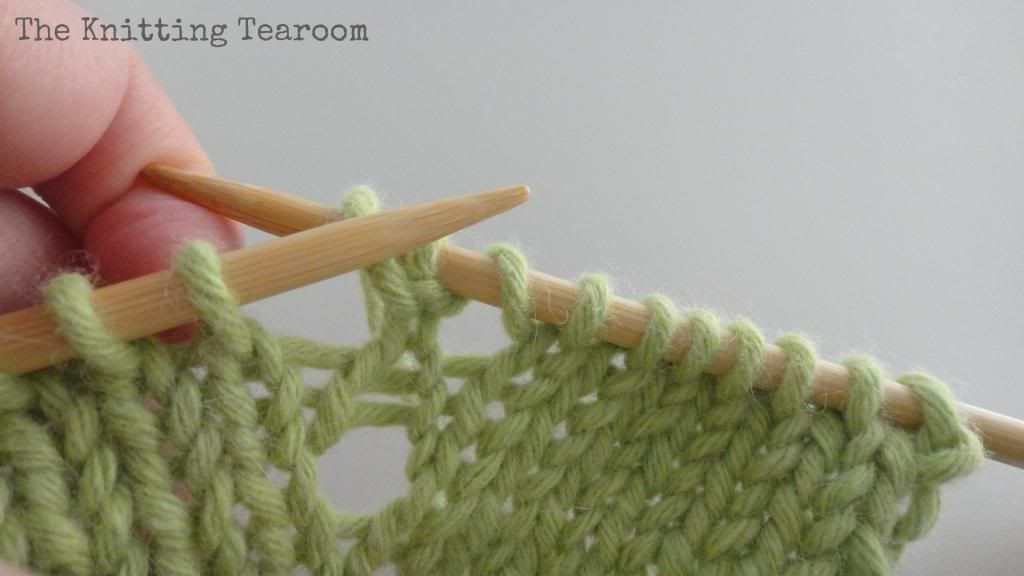
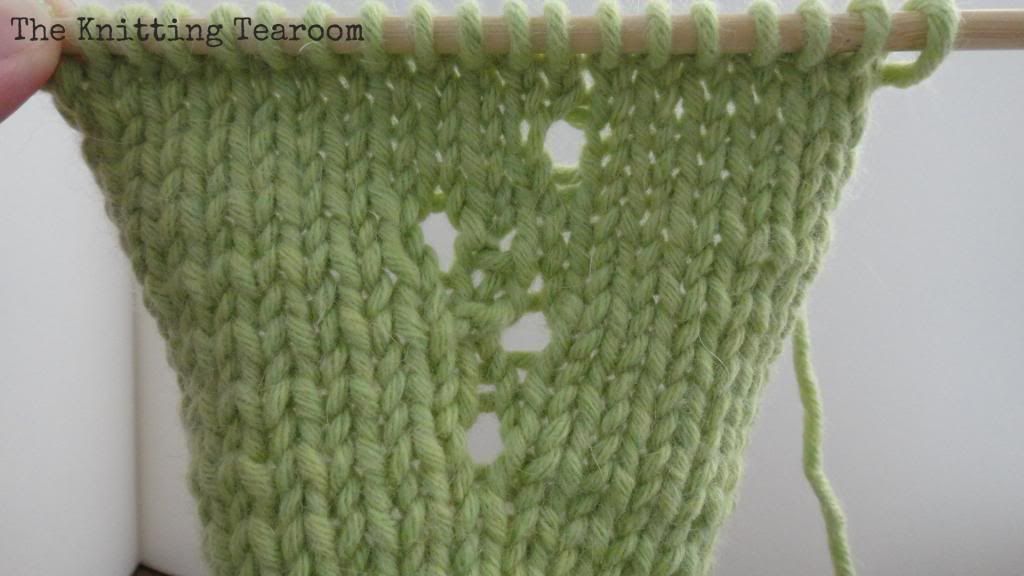
Knit and compare:
Here's a swatch with all the yarn-overs knitted using the methods described above, in the same order (bottom to top). I'm sure you'll agree that they all look roughly around the same size. I prefer my yos to be small and neat, but you may find that other methods may achieve a look that you might like better. My advice is to try out all the different ways of doing it, and finding out through personal experience which you are most comfortable with.
Well, that's it for this tutorial! Hopefully it will save some hairs on the heads of newbie lace knitters out there, or at least provide inspiration for others to try out new ways of approaching certain knitting techniques.
Knit on! x
Disclaimer: This blog entry is my submission to the Deramores Blog Awards 2014. Deramores is the UK's number one online retailer of knitting and crochet supplies.


You left me a lovely comment, but it was "no reply" so this is the only way I can contact you! Send me an email and we can chat about that project you are going to knit from New Vintage Lace! Best, Andrea
ReplyDeleteBadCatDesigns@verizon.net